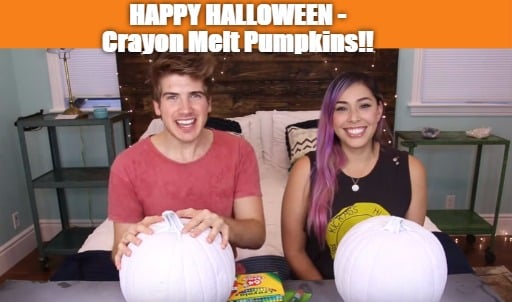
Although it is hard to believe, Halloween is just over 2 weeks away! Decorating for autumn and Halloween can be so much fun. However, the same old DIY fall decor can get a little boring. This year, why not spice things up a bit with with a rainbow crayon pumpkin!

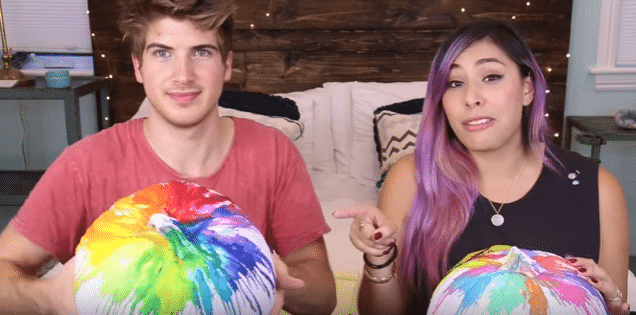
My very favorite Youtuber, Joey Graceffa, and his pal Tiffany dedicated a video specifically on the 411 on how to create a rainbow pumpkin by melting crayons with a hair dryer! The process to making a decorated crayon pumpkin is simple but a little messy (probably messier than traditional pumpkin painting)! Read on to find more.
Crayon Melt Pumpkin Supplies:
- A white pumpkin
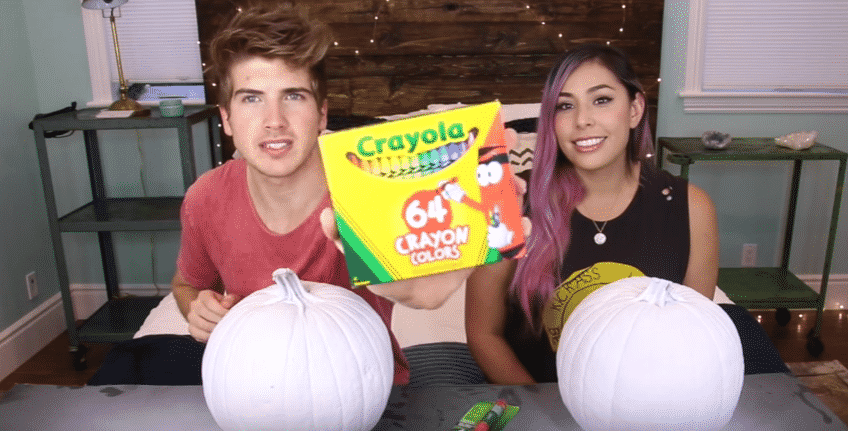
- Various colored crayons
- Glue
- A hairdryer
Newspaper or some sort of floor cover/wall cover (this is optional, but if you are doing this project inside you will definitely want to cover your floor and the walls around you).
Directions:
Begin by peeling the wrappers of the crayons you plan to use. You can use whatever colored crayons you want, just keep in mind the colors will bleed together and may create undesirable colors.
Glue the crayons around the top of the pumpkin. You can either break the crayons in half or into smaller pieces as you glue them.
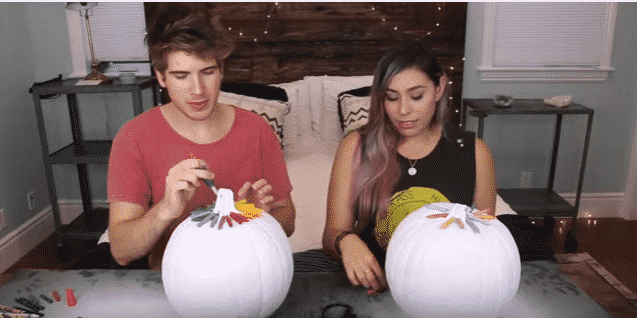
Once the glued on crayons have dried on, turn on your hairdryer and start melting those crayons!
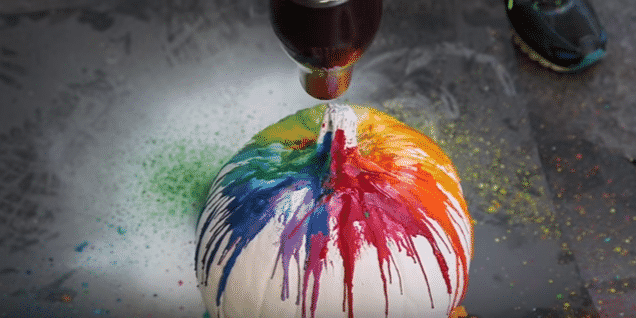
Move the hairdryer around the pumpkin and watch the crayons melt!
Allow the wax to dry, and your pumpkin will be all ready to go!
Happy rainbow crayon pumpkin decorating!